Followers

Search This Blog

Quilted Cats Hideaway

Tuesday, April 26, 2011

Blissfully Unaware

This post title seemed appropriate when I looked back on the date of my last post. March 29th. On March 29th I had no idea that the next day would be spent in the ER with hubby, wondering if he would still have all his fingers when he left. On March 30th Rob had an accident on the farm. He caught his hand in a piece of machinery in the barn. One of my greatest fears with a husband who's a farmer is injury. Rob works alone and is around equipment all the time. Often I stop in to say hi or bring him a treat...I think we both know that I'm checking in on him and making sure he's ok. Haying season is the worst:) There's always a small part of me that panics when he phones from work...usually it's just a call say 'hi poopsie!' and 'I'm thinking of you'...or more likely, 'I'm going to be a *few* minutes late'. But on this particular day it was a call to say 'I hurt myself pretty good and I'm thinking I should head to the clinic.'

I could tell something was off...he didn't sound too hurt, but there was something in his voice. It took me just a few minutes too long to realize he was in shock. I picked him up at the farm and off we went to ER. The staff were great, he was in within 10 minutes and was receiving treatment shortly thereafter. The big concern was infection. Barns aren't exactly the most hygienic places for an accident!
From this point on it really just seems like a blur. I feel as though I've been living in my car for the past month driving here there and everywhere. Life had to become very organized and scheduled and the days didn't have enough hours in them to get everything accomplished. The timing of the accident was interesting. On one hand, we had just shipped our big flock out so the day to day farm responsibilities were less than usual. On the other hand, we had 13,000 birds that HAD to be moved into the layer barns before they reached a certain age and in order for that to happen all the barns had to be cleaned and prepped for the move itself.
This is where God took over...He saw our anxiety, felt our helplessness, and took over. Rob and I can't even begin to put into words the overwhelming peace we have felt. It's as though nothing happened. Life was put into perspective very quickly. Things that normally feel so bothersome and mundane became things to appreciate and acknowledge.
Before Rob was even out of surgery we had more help than we knew what to do with. People we don't even know were offering their assistance. Fellow farmers came to the rescue, machinery was fixed, barns were cleaned, and flocks were moved! Kids were babysat so I could be available to work on the farm, meals were delivered, and cards were flowing into the mailbox. We even recieved a card from a family in Colorado who knows us through their daughter. They were letting us know that they, and their church, were praying for us! Our church family rose above and beyond the duty of a family and did everything they could to support us. Our friends, family and church prayed us through every step of the trauma. Men took time off their own jobs to come and work on our farm. All of those who volunteered their time didn't even ask if they could help...they just showed up and helped and organized more people on their own. We prayed for safety for these men, many of whom had not worked on a farm before. To feel this kind of love, to experience Christ's love through these friends is more than we can ever express in words. I can't imagine how we would have done all this without our church family. I have always been a strong advocate of church involvement, and this experience causes me to stress just one more time to all of you how important it is to invest your time and love into your church community. It's not a matter of having the resources of friends to help in a crisis, although this is a huge benefit, it's the way you experience Christ's love through these people.
Well, this blog post could go on for days, but to sum things up; we are so thankful that the surgeon was able to re-construct Rob's fingers. We are thankful that he will slowly regain use of them, if not entirely, then we'll settle for partially! We are thankful that the cost of therapy and all medical expenses will be covered. We are thankful for a loving Heavenly Father who protected us and embraced us. We are thankful for friends and family who carried us through this trauma.  Thankful for those of you who followed us through every step of the way with phone calls, texts and emails.  We are so thankful for our marriage and the unity we were able to feel despite the crisis.
Rob is thankful to be back at work...the crazy man won't stay away from his beloved farm! He has months of therapy ahead, and will need to take it easy, but that's a small price to pay for a farm accident! So, if you are one of the many friends that helped us through this, then we sincerely thank you from the bottom of our hearts!
I didn't get too many pictures...too busy! But here's a few I snapped with my phone along the way...
Here's hubby 'supervising' a few days after the accident:

Here's my bro who came to the rescue and put in some good time doing mundane chores with me on the farm:
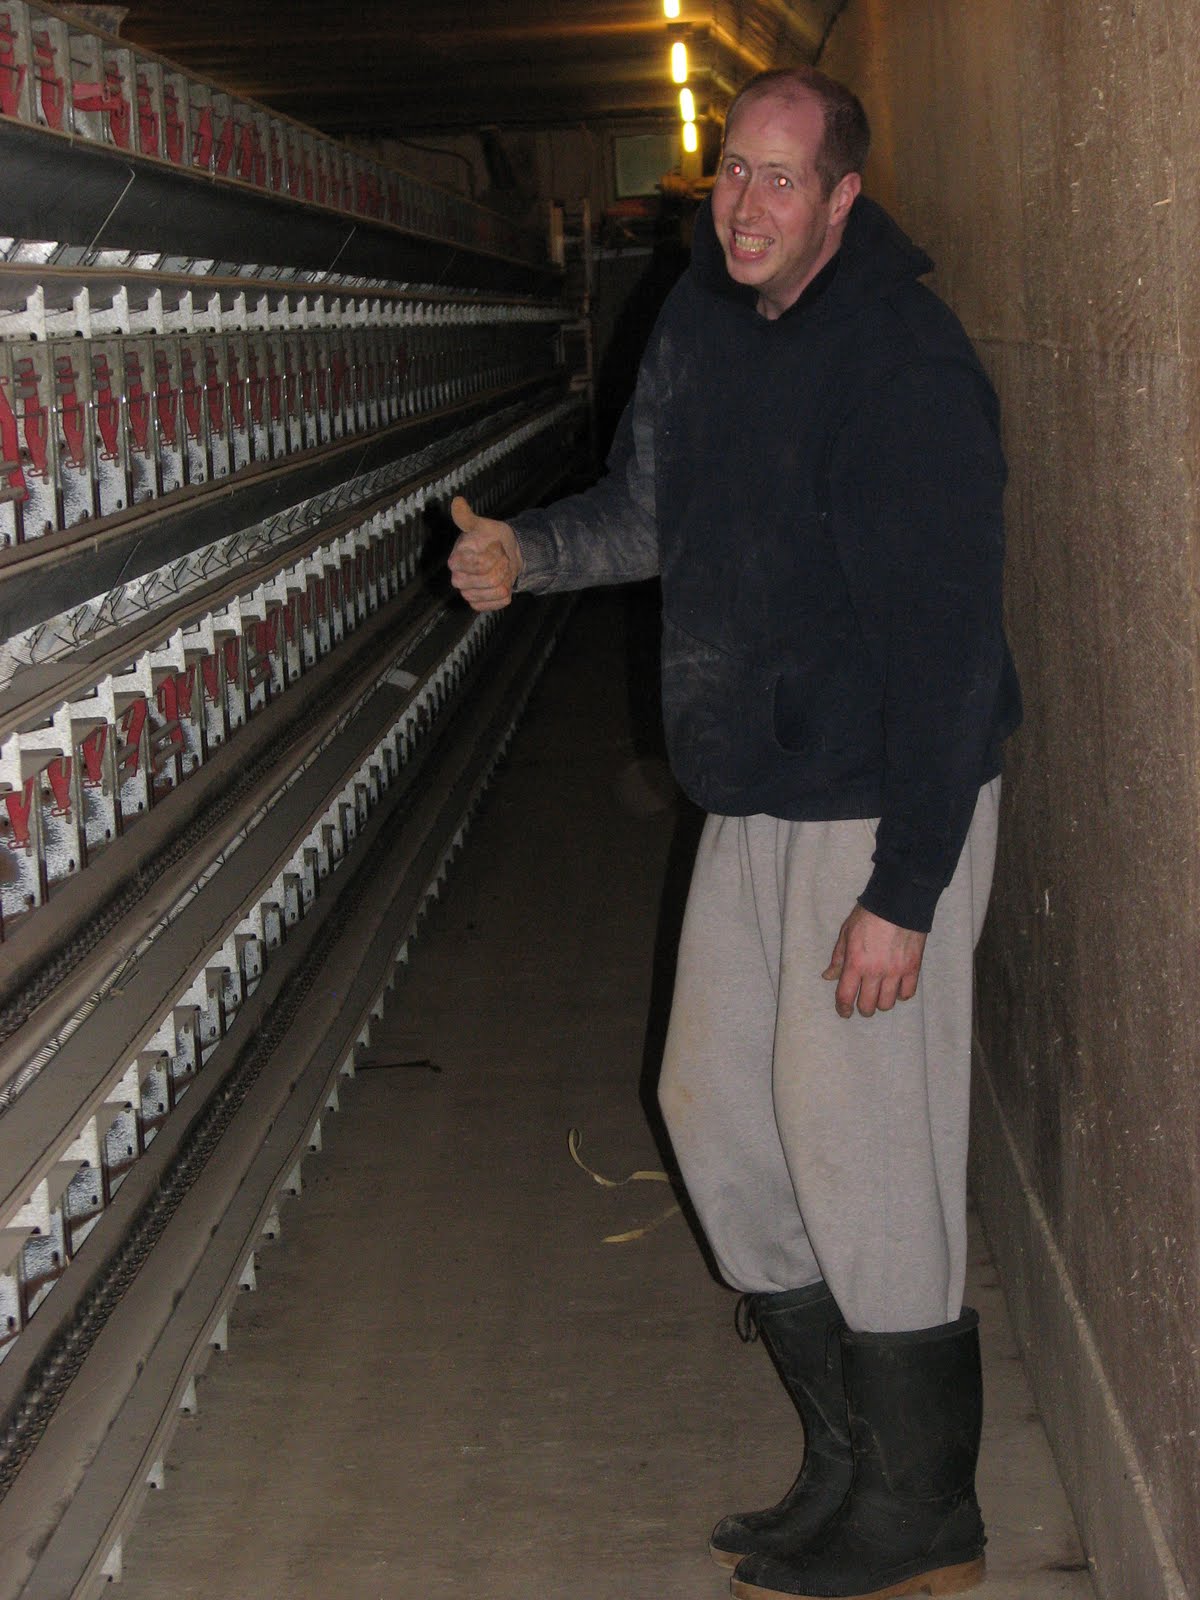
Here's a few fierce warriors to braved the flock change...from left to right:
Josh, who's experience on a layer farm was such an asset,
Wayne, who said...and I quote "I'd deal with complaining customers all day before I'd ever chicken farm!"
And Stef, who kept us entertained all day! Stef's quote: "I was really careful with the chickens...well, the first few anyway...."
Thanks guys...you're the BEST!
And last, but certainly not least.... 'Dr. D' and fellow farmer and friend Dan who also played a big part in getting the job done! Way to go guys!


Tuesday, March 29, 2011

Tuesday Time-Out...

So far it's been a productive week around here.  The kids are back to school and we're slowly getting back into routine since Spring Break.  Yesterday I spent the whole day cleaning and doing laundry.  There's so much more cleaning and sorting to be done, but there will always be another Monday!  Today Kim and I changed up our Tuesday Time-Out routine a little.  Kim's girls are on their second week of Spring Break so Isaac and I headed over there this morning.  I made a quick trip across the border to pick up a parcel, then a quick stop at Timmy's for coffees, then off to Kim's.  I didn't have much time to sew as I needed to do Kindergarten pick up, but hey, a few stitches were accomplished, coffees were consumed, and conversation coincided!  On my way to pick up Abby from school my cell phone was ringing away.  Isaac had it in the back seat with him and to my surprise he not only managed to answer it, but put it on speaker phone as well!  Kim was calling to tell me that I'd left my purse at her house....oh bother.  With the price of gas being through the roof, I was a little less than thrilled at my forgetfulness!  So, back we went, picked up the purse and headed home.  In the couple of hours I had before the next school pick up, I was able to lay out my now completed pinwheel blocks and try to get a layout picked so I can complete my quilt.  Here's a look at where I'm at with it....hope your Tuesday's going well!

Saturday, March 26, 2011

Addicted to Dresden's...

I've always had a soft spot for traditional dresden quilts.  There's just something so 'grandmotherly' about them.  A while back I had come across a tutorial for making these beautiful dresden plates and decided to give it a go myself.  And now, I'm addicted!  They are a great way to use up scraps, but more importantly, they make such a cute little accent to home decor.  I have big plans for my dresden's.  Here's a little mini tutorial of how I make them.  Really, the trick is all in the ruler.  Invest in one of these babies for $5 and you'll never look back!  I've got several on the go!  I'm hoping to get my Etsy shop up and running this week and they will be a feature there.  I've noticed there aren't very many on etsy so I'm hoping mine will sell well!

First you need to find the fabric you want to use.  You can go scrappy, or stay with a line of fabric that all coordinates.  Next you need to determine what size of 'plates' you're going to make.  5" seems to be the standard, but feel free to go bigger or smaller.  No matter what size of dresden you make, there are always 20 'blades' in a dresden plate.  I recommend using a 'charm' pack.  It's a stack of about 40 5x5" squares of pre-cut fabric from a coordinating line. Once you've figured out these details then it's time to start cutting.  I find it easiest to cut while I'm standing for this particular project.  You need to be able to cut from both sides of the ruler. 
For this demo I'll be referring to a 5" dresden.  Place your ruler on a 5" square so that the bottom of your ruler and the 5" mark of your ruler are each on an edge of the fabric.  Have your ruler placed  as close to the edge of the fabric as you can so that you can get 2 'blades' from each charm square.  (Why didn't I have any pictures of this part?)  It's up to you whether you'd like to do 20 different patterns of fabric, or do only 10 with 2 of each pattern in the dresden.
 

Once all of your pieces are cut, place them in the shape of a circle to determine the order of your pattern.  This only takes a few minutes, but is very important.  Once they're all laid out the way you like them, pick one and start stacking them in a pile according to the order you placed them in. It doesn't matter which one you start with.  Once stacked I usually clothespin mine together in case my two year old decides to pop into my sewing room for a visit!  Now it's time to start sewing!

Taking the wider end (the top) of the 'blade' of fabric, fold with right sides together between your fingers and sew across the top using a 1/4" seam allowance. I suggest a few reverse stitches at the beginning and the end of each.  Now, chain stitch the rest of the blades in exactly the same way.  (Chain stitching simply means that you don't cut your threads between each piece when you sew.  This allows you to keep all your dresden blades in order as you sew, and saves lots of time and thread!)
Once you've got all the tops sewn together, carefully snip off the corner of each 'blade' above the seam allowance that you sewed on the folded side of the blade.  This is best explained by the top left hand picture above. (click to enlarge)  Be careful not to snip through your seam!  Cutting this seam allowance off will allow for less bulk when you turn your blade right side out.
Now, keeping your blades in a chain, cut the end one off the chain, turn right side out, and use something sharp to push out that tip for a nice, neat point.  I have used my seam ripper or even a sharp pencil for this part.
Once you've got the point nicely out, lay the blade on your ironing board with the good side down, and press the point by centering the seam.  Just eyeball this point..don't get too fussy, trust me, it's not worth it!  Now cut off the next blade from the chain and repeat this until you're done.  This might be the part where you drag your ironing board in front of the tv and plug in a good movie!
Once all your blades are ironed, it's time to start sewing the plate together.  Keeping the blades in order, start by sewing the first two together with right sides together along the straight edged sides of the the blades. (see bottom left picture)  A little tip I learned to make this easier:  Start from the tops of your blades, and sew the to the centre of where your circle will be.  I recommend starting your seam 1/4" from the top and then reverse stitching back up to the top and then all the way down.  This eliminates any bunching of fabric at the top.  Again, the pictures are probably more explanatory!
Continue sewing all your blades in order. 
 Once you get the last one sewn on, simply sew it to the first blade to seal the circle!  That part was easy..right? 
Now give the whole thing a really good, but gentle, press with the iron.  Start on the back and press all the seams in the same direction.  Once the back is pressed, flip it over and carefully press the front.
Ok, now on to finishing.  My ruler came with a template for the centre circle of the dresden, but if yours didn't, simply find a circular object in your home that you can trace for the middle of your plate.  I recommend tracing the circle onto a piece of cardboard first, cutting it out, and then tracing around the cardboard onto your fabric...this will make sense in a minute.  Trace this circle on the wrong side of your centre piece of fabric.  Then...this part is important my friends, cut 1/4" larger around the circle!  Did you get that...don't cut on your line, cut 1/4" larger than the line!  Once cut, get out your trusty needle and thread out, tie a decent knot in the end and do a running stitch, or basting stitch on your machine, around the entire circle.  Once you've done the stitch all the way around, place the cardboard circle back on the wrong side of the fabric, and gently pull your running stitch so that it gathers all around the cardboard.  Once it's nice and snug, take it back to your ironing board and leaving the cardboard side down on your board, iron the circle so it's nice and pressed.  Once pressed you can gently remove the cardboard and re-press.   (Sorry, no pics of this step)  Now, here's the part where you decide how to place your dresden.  I have been backing mine on felt to make little 'tablemats' for home decorating, or plate chargers, but you may want to place yours on fabric for a quilt, or runner.  For the purposes of my demo I"ll refer to felt backgrounds.  Place your dresden plate (without the centre) on the desired background.  Pin down every blade so it stays put!  Now, place your centre circle in the middle and pin it down as well.  Using invisible thread, slip-stitch the centre in place.  For a more sturdy centre, stitch right through to backing (felt), but if you're going to applique the dresden onto fabric then I would recommend stitching only to the plate itself and not the backing.  Now, give it a good press with the iron, but careful to avoid the felt with the iron.  Now it's time to secure around the perimeter of your plate.  You can either slip stitch it down as you did in the centre, or, if you're like me, I like my stitching to show a little with colorful thread so I machine stitch around the entire plate with a narrow seam.  This required a lot of pivoting with your machine, but it goes fairly fast.   If you are appliqueing  on to a larger project then you should use your favourite applique method.
Now, to finish the background as I did in the pictures take a ruler and using a white pencil crayon,  mark a dot 1/2" out from each 'valley & peak' of the plate.  Once the dots are all marked I cut out the surrounding zig zag using scissors in a 'connect the dot' fashion!
I hope to high heaven that some of this made sense!  If  you need more of a visual, go to this tutorial online:  http://www.youtube.com/watch?v=lcy_p4pryE4

Here is my stack of 'to-be-created' dresdens!

Monday, March 21, 2011

More Pinwheels...

I was pleasantly surprised with a bonus sewing evening last night.  Rob had to ship out birds last night which usually translates into him being gone for about 12 hours from afternoon to early morning.  I wanted to get the kids into bed at a decent time, even though it's Spring Break.  Too many late nights makes for unpleasant days!  So, kids were in their jammies by 7pm and I was still trying to decide what I was going to do with a quiet evening all to myself.  Kim phoned around 7 and we were chatting about our weekends, even though we'd spent a few hours on Saturday sewing together...we never seem to run out of topics for conversation!  Kim and I are really enjoying working on our pinwheel samplers and when we realized over the phone that we both had a free evening we thought, 'why not?'...as in, why not get together and sew?  So, Kim grabbed her stuff, kindly picked up coffees and came over.  The house was so quiet it was unbelievable!  The kids were great, gave me no bedtime problems and Kim and I sewed uninterrupted for...are you ready...5.5 hours!  It was so great...I got a good chunk of work done on my pinwheels and thoroughly enjoyed myself to boot! 

This collage shows the process of putting 'hst' (half square triangles) together.  This quilt is made up almost entirely of 3 7/8" squares.  Each of the neutral squares gets a line drawn diagonally down the centre, then it gets paired with a patterned square (right sides together) and I sew a 1/4" on either side of the line.  Once sewn, the square gets cut down the middle along the line, then you iron open the two new squares.  The pinwheels are all pieced from these squares.  The work isn't hard, just a little redundant and seam picky!  The pinwheel shown at the top of this post is the one of the ones I was working on here... 

These blocks are some of my favourites..they are nice and 'scrappy' looking...


P.S...I'm not showing you the rest of the blocks now until they're all finished and ready to be sewn together...but, that's not far from now..only 4 more blocks to go!

Friday, March 18, 2011

You know it's Spring when...

Yep, you know it's Spring when the baby calves start to arrive!  We love our farming lifestyle and calving season is no exception!  In fact, it's one of our most favourite times of the year here at the farm.  The combination of it being Spring Break for the kids and then calves starting to be born has created some serious excitement over here!  The first calf was born this past Wednesday, then 3 yesterday, and another 3 today! 
Although chicken/egg farming is our main focus, the cows have a special place in our family.  10 years ago when Olivia was born her Opa gave her a calf in honour of her birth.  He did the same for Abby when she was born.  Olivia's cow became her pet and grew to give her many other baby calves until we had to have her put down last year.  So, we re-named her last calf Livi and the cycle continues!  Abby's cow has had three calves now, first Arlie, then Arlyss and now yesterday, baby Ariel arrived!  The names are not always random...the rule is that they must be named beginning with the first letter of their mama's name.  This is how we keep track of who's who in the herd!  We've had many a laugh naming calves over the years. Once one of the girls' cows has a bull, then we'll get Isaac his cow!  The cows are so beautiful right now with their curly soft winter coats.  Here's a few pics to share what's going on at the farm...(you can click to enlarge)

Here's 'Livie' who has both her mom and her owner's namesake!

Here's Bella and her mom Bell. Bella was born at 2pm this afternoon and was up and on her feet by 2:30!  Her momma accidently stepped on her and hurt her so we're keeping a close eye on her for the next couple of hours.


Here's Baby Aron who was also born today...
Here's Papa Bull.  You don't want to mess with him.  He is the father of..well, all of them!
These next pictures are of Abby's baby calf.  Her calf was born yesterday and is very healthy and strong!
Did I mention that I love this time of year?  Cuz I do.

Wednesday, March 16, 2011

My Tuesday Timeout....

Have I ever officially told ya'll about my 'Tuesday Time Outs'?  I have taken so many pictures to post about my Tuesdays, but rarely do I get the time to organize them into a blog post.  More realistically, I rarely get my project(s) finished in time to post a satisfactory amount...well, that, and Kim always beats me to the punch and hers always ARE finished!!!  What can I say.... I get a 'little' less done with some of the kiddos still being at home!  Kim is always so gracious about packing up all her stuff and coming over here so that I can do the exact opposite!  Me packing up Isaac, stuff to keep Isaac busy, food for Isaac, and remember all my sewing stuff, plus arrange to pick up Abby part way through the day just wouldn't make for a very productive day! 
So, with those basics in place, each Tuesday, Kim and I get together to work on a project.  We've been doing this for over a year now and it's a great little tradition we have going.  Sometimes we choose a project to start together, other times we pull out our own projects.  Sometimes it's machine stitching, other times it's all hand stitching.  We ask each other for colour/fabric advice, and we ask each other for life advice!  We share many a laugh, a few songs, a few heartaches, plenty of conversation, and a few more laughs.  Coffee is always present and needles are always flying!
Today we started a pinwheel sampler.  This is a project both of us have wanted to tackle for awhile now.  Pinwheels look quite simple, but the amount of pieces that go into each one require pretty exact measurements.  Matching up seams can be tricky business, but we convince each other that 'no one's gonna notice that!'
So there's a brief sum up of Tuesday Timeouts.  Today's timeout was a little hectic around here.  The kids are home for spring break and they didn't seem to understand that every now and then (specifically Tuesdays) Mommy drops everything to sew!  Oh well...here's hoping next week goes better...did I mention that Kim is always really gracious about things....?
I'm working with a layer cake that I got awhile back called 'Punctuation' by American Jane.  It felt good to delve into this stash and create something with it!  The colours are fun and borderline on reproduction style prints.
In total there will be 2 sets of 8 pinwheels in the quilt, although each has it's own unique colour pattern.

I'm liking the look of this one and excited to keep working on it in my Tuesday Timeouts!

Tuesday, March 15, 2011

Re-Living the Olympics...

Grade 5 has been a big year for Olivia!  The workload has increased, and the projects are more intense.  Add in sports, music and clubs and it's one heavy load for a 10 year old!  We are especially proud of Olivia this year.  She has shown consistent effort in everything she's done.  Olivia has to work really hard to get her good grades.  She has made the honour roll and continues to bring home great marks!  I know that many of us have kids that bring home great grades, but our girl really has to work hard for hers and it is her effort that matters most to us! 
This year the students had to do a history fair project.  This is similar to a science fair project.  The project was ongoing for months.  Olivia's teacher has been great and has prepared the students for every stage of the report with clear expectations and tools to get there.  The kids were allowed to choose whatever topic they wanted.  Olivia chose the Canadian Winter Olympics.  As the Olympics were held here in Vancouver last year, it was still fresh in our minds and still an interest worth researching.  Olivia knew a few people who had been involved in the Olympics so this proved valuable for the part of the project that required an interview!  (Thank you Mr.Collins for your generous donation of time and souvenirs!)  Olivia worked really hard on her project.  With the exception of some construction to hold up her Olympic rings on her display board (thank you daddy) she did the majority of the work all herself.  She was greatly rewarded when she found out that she'd qualified for regional judging.  12 kids out of 60 were chosen to set up their projects in a separate room for judging on history fair day.  Although she didn't make it to regionals, we still consider it an honour that she was considered.  As parents this experience has been a great tool to teach our child about striving for the best even if though she didn't make it regionals as she'd hoped to.  Way to go Livi..this has been just one of many milestones for you this year.  Keep up the good work!
For Olivia's 'creative element' to her project, she chose to wear her Olympic hoodie, a pair of 'authentic' moose antlers that were used in the opening ceremonies in 2010, and her creative table display included an Olympic coin collection, tickets from Olympic events, a mascot for the upcoming 2014 Olympics, a family guide to planning your time at the Olympics, a volunteer manual from the 2010 Olympics, a ski to sea highway pass for cars to travel to the Olympic athletes village, and several pictures of athletes in action!